We pay for the servers and plans we use. Links marked as affiliate links earn us a commission at no cost to you; it never changes what we recommend. Details.
A fresh Coolify install answers on port 8000 to anyone who finds the IP. That is fine for the first ten minutes and not for the first month. Here is the full port list from the current docs, and the order to lock things down without locking yourself out.
Watch it instead
The UFW part in 37 seconds: UFW says port 8000 is closed. It still answers (YouTube).
The ports Coolify uses
From the Coolify firewall docs, for the server that runs Coolify itself:
| Port | Used for | Keep open? |
|---|---|---|
| 22/tcp | SSH access (or your custom SSH port) | Yes, ideally only from your own IP |
| 80/tcp | HTTP traffic and certificate generation through the Coolify proxy | Yes |
| 443/tcp | HTTPS traffic through the proxy | Yes |
| 8000/tcp | Direct access to the dashboard at http://<server-ip>:8000 | Only until the dashboard has a domain |
| 6001/tcp | Real-time dashboard updates over direct IP access | Only until the dashboard has a domain |
| 6002/tcp | The web terminal over direct IP access | Only until the dashboard has a domain |
The docs are explicit about the last three: after the dashboard works through a domain, "you can close public access to ports 8000, 6001, and 6002. The dashboard, real-time connection, and terminal will use ports 80 and 443 through the proxy."
Why UFW alone does not protect you
The usual Ubuntu advice is ufw allow 22, ufw enable, done. On a Docker host that gives a false sense of safety. Docker's own documentation says: "Docker and ufw use firewall rules in ways that make them incompatible with each other. When you publish a container's ports using Docker, traffic to and from that container gets diverted before it goes through the ufw firewall settings."
In practice: UFW can say port 8000 is denied while the Coolify dashboard, which is a published container port, still answers from the internet. The rule exists; the traffic never reaches it.
Coolify's docs give the options in this order:
- The hosting provider's firewall. It filters traffic before it reaches the server, so Docker's rules never come into it. This is the recommended route.
- ufw-docker, when the provider has no firewall.
- A Compose override that binds Coolify's ports so they are not published publicly.
The setup we recommend on DigitalOcean
DigitalOcean's Cloud Firewalls are available at no additional cost, so on a DigitalOcean droplet option 1 is free. In the control panel go to Networking → Firewalls → Create Firewall and set these inbound rules:
| Type | Port | Sources |
|---|---|---|
| SSH | 22 | Your own IP address |
| HTTP | 80 | All IPv4, all IPv6 |
| HTTPS | 443 | All IPv4, all IPv6 |
| Custom TCP | 8000 | Your own IP address |
| Custom TCP | 6001-6002 | Your own IP address |
Leave the outbound rules at their defaults, apply the firewall to the droplet, and everything not listed is dropped before it reaches the machine.
Limiting 8000, 6001 and 6002 to your own IP closes the biggest gap straight away: a brand-new Coolify shows a "create the root account" screen to whoever opens port 8000 first. That is why the install guide tells you to create the account the moment the installer finishes.
The order that avoids a lockout
- Create the firewall with the SSH rule first. The Coolify docs warn: "Do not remove the SSH rule while configuring the firewall. A wrong SSH rule can lock you out of the server." If your home IP changes, you can always edit the rule from the provider's web console.
- Point a domain at the server and set it as the instance domain in Coolify's settings. The proxy requests a certificate over port 80.
- Open the dashboard through the domain and check that live updates and the terminal still work.
- Delete the 8000 and 6001-6002 rules. The dashboard now runs over 443 only.
Coolify talks to a single-server install over SSH on the machine itself, so a provider firewall, which sits outside the machine, does not get in its way. If you add remote servers later, the docs have a separate port table for them and advise restricting their SSH rule to the address Coolify connects from.
What we have and have not tested
The port list and the closing order come from the docs we checked today. On our bench the dashboard is on port 8000 from the first-day install. When we move the dashboard behind a domain and close the three ports, this post gets the results and an updated date.
One part we have now tested, on 2 Oct 2026, on fresh Ubuntu 24.04 and 22.04 virtual machines (Docker 28.0.4, ufw 0.36), with a test container publishing port 8000 rather than Coolify itself:
| Check | Result |
|---|---|
ufw deny 8000 with ufw enabled, port published by a container | Still answered from outside |
The same ufw deny on a port listening on the host itself | Blocked |
Rules in Docker's DOCKER-USER chain allowing one admin address | Port blocked for everyone else, open for the admin address |
The same rules after systemctl restart docker | Still in force |
DOCKER-USER is the chain the ufw-docker tool also writes to. We wrote those rules with our own script, so the ufw-docker tool itself and the Compose override remain untested by us, as do IPv6 and a reboot.
A test server without a domain can still get working URLs for its apps through sslip.io.
FAQ
Which ports does Coolify need?
Six inbound TCP ports on the server that runs it: 22 for SSH, 80 and 443 for web traffic through the proxy, 8000 for the dashboard over the bare IP, 6001 for real-time updates and 6002 for the web terminal.
Can I close port 8000 on Coolify?
Yes, once the dashboard is reachable through a domain. After that the dashboard, real-time connection and terminal all use ports 80 and 443 through the proxy, and 8000, 6001 and 6002 can be closed.
Why is my Coolify port still open with UFW enabled?
Because Docker publishes container ports through its own firewall rules, and that traffic is diverted before UFW sees it. Use your hosting provider's firewall, or the ufw-docker tool the Coolify docs describe.
Does a DigitalOcean Cloud Firewall cost extra?
No. DigitalOcean provides Cloud Firewalls at no additional cost. You create one under Networking, add inbound rules and attach it to the droplet.
Used in this article
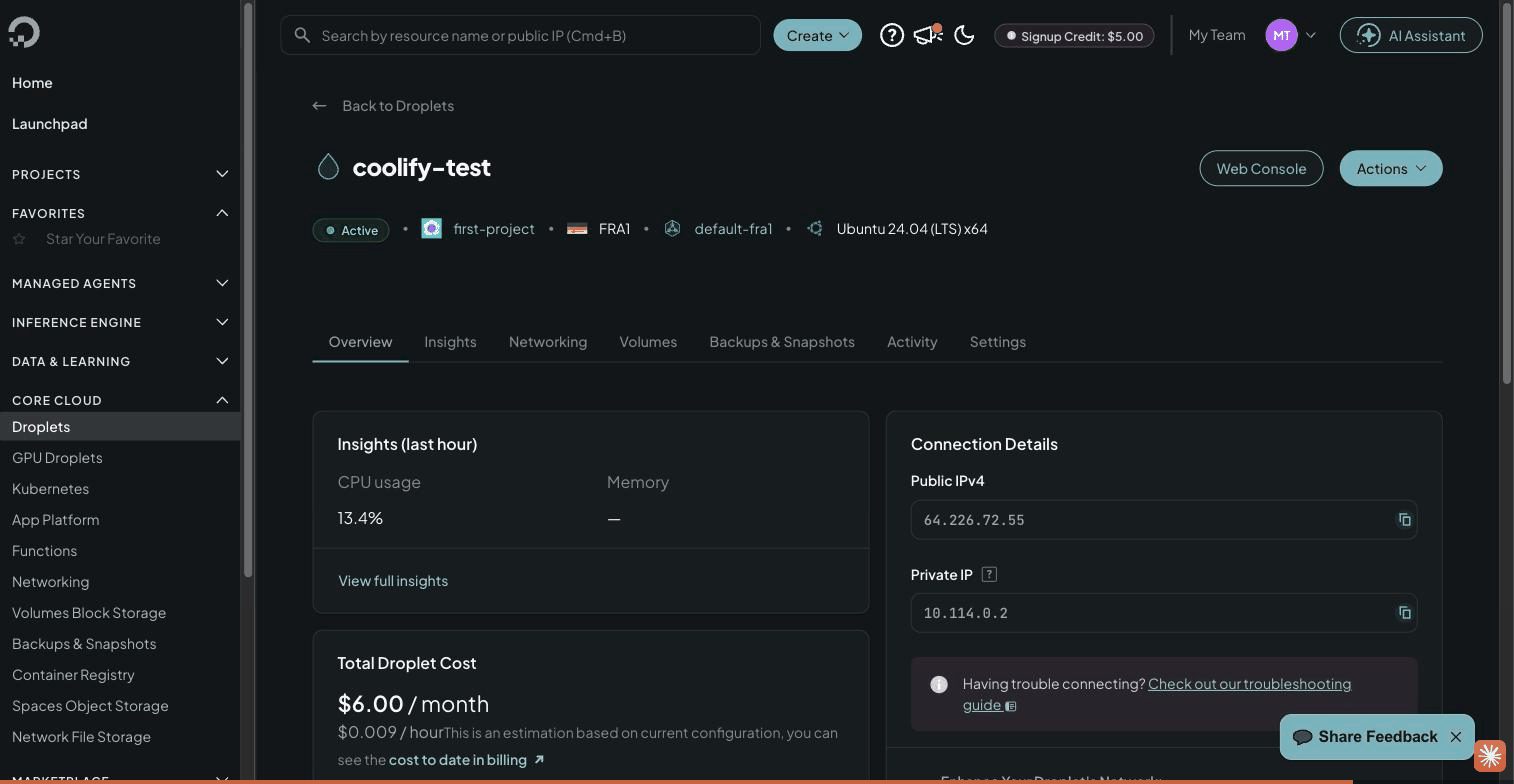
- DigitalOceanThe $6 Basic droplet (1 vCPU, 1 GB RAM, 25 GB SSD) our test server runs on.Visit DigitalOcean
Affiliate link: we may earn a commission if you sign up, at no cost to you. Details.